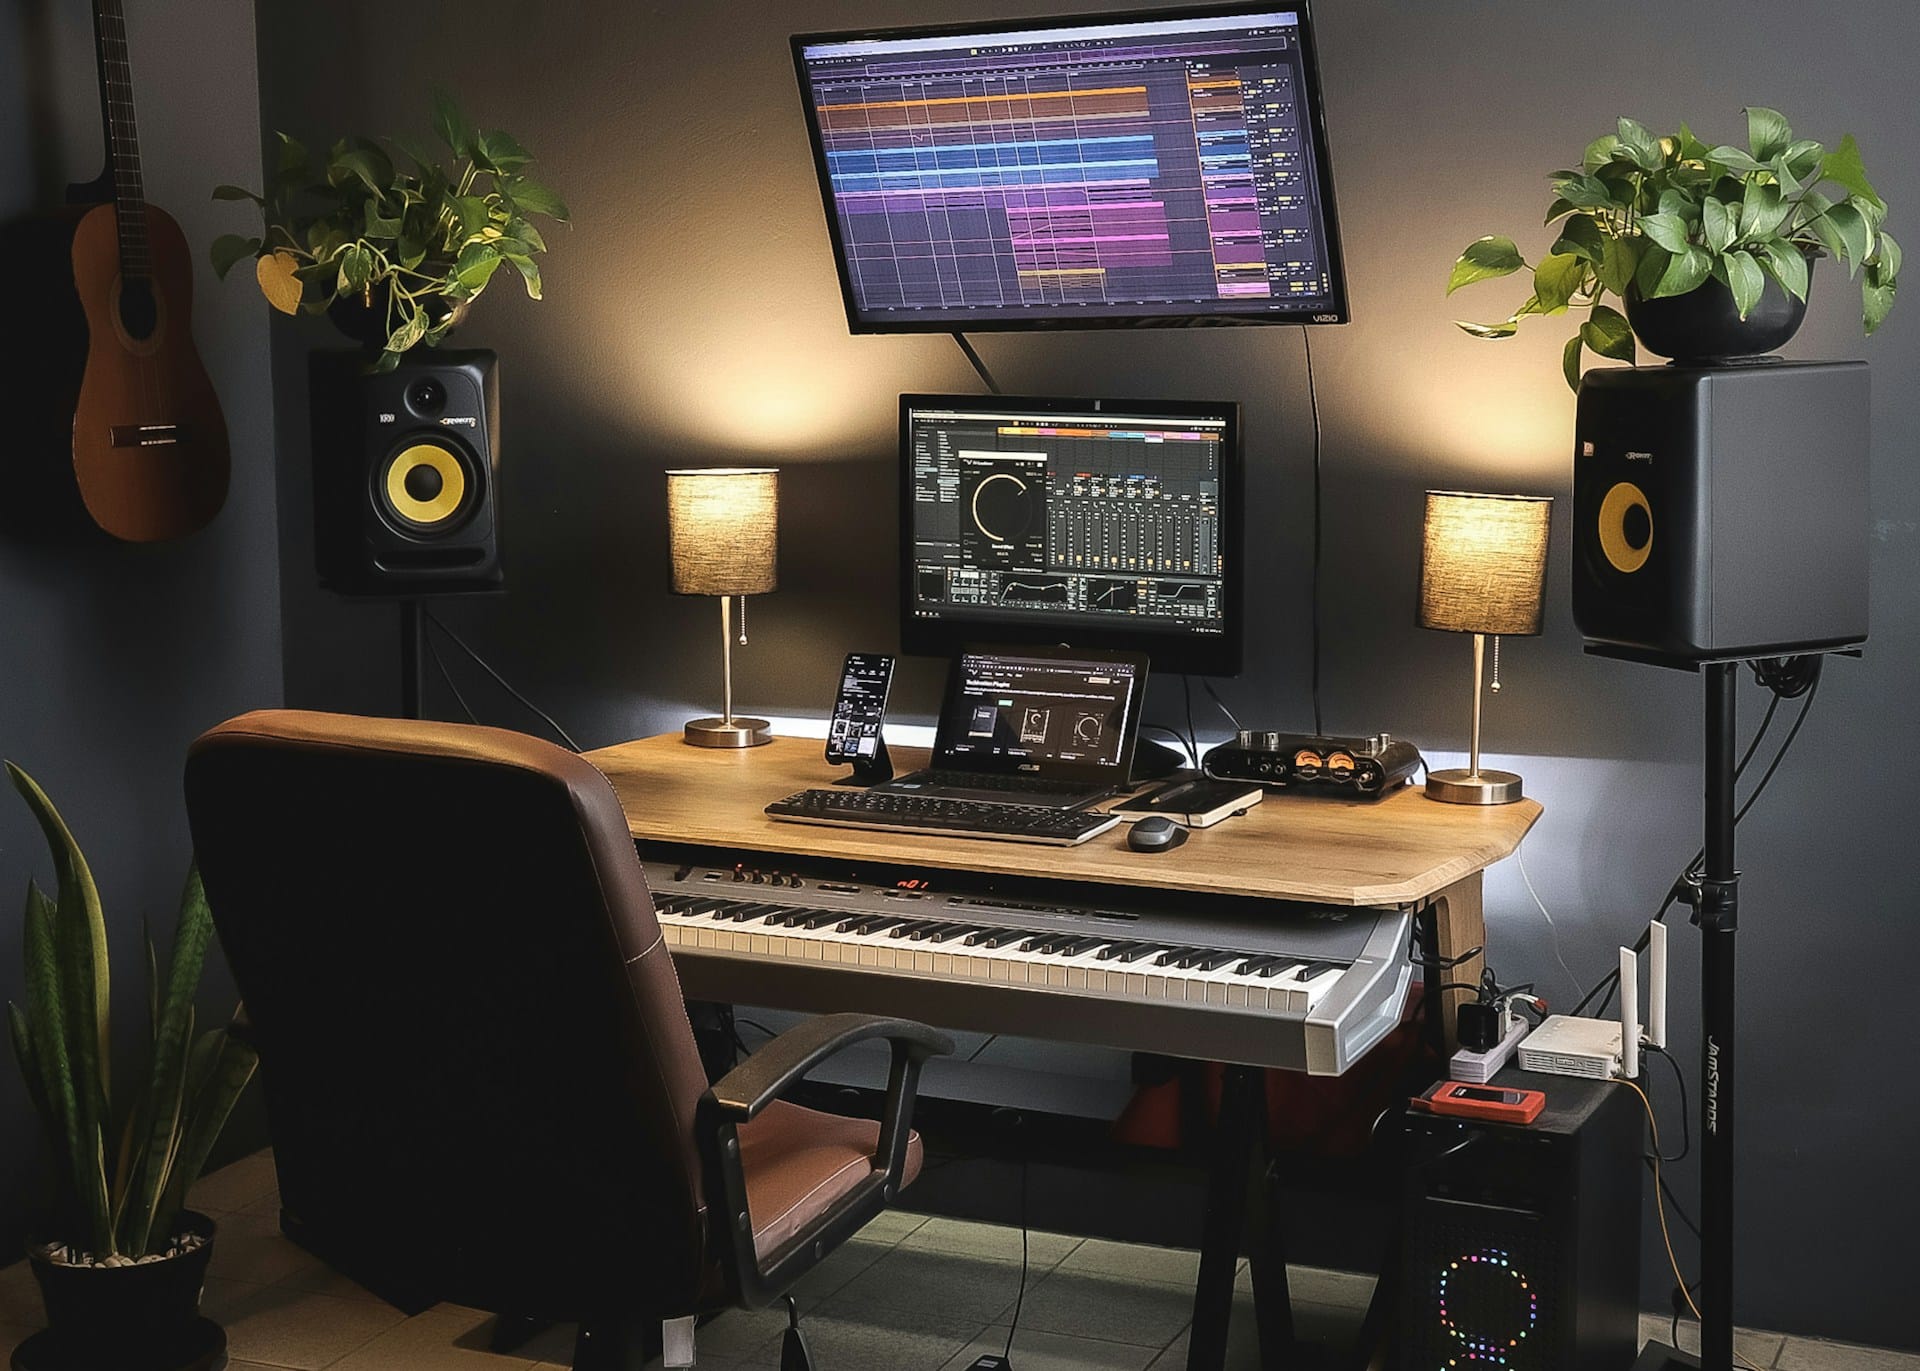
In the evolving world of home recording studios, the pursuit of superior sound quality is never-ending. High-quality equipment is vital, but the acoustic treatment of the space is an often overlooked aspect that can significantly improve the overall sound. Acoustic panels play a crucial role in this, by controlling the reverberation, reducing echoes, and improving the clarity of sound. But with the multitude of options available, from Auralex foam to bass traps, choosing the right acoustic panel can be a daunting task. Allow us to guide you through the best acoustic panels for a home recording studio in the UK.
1. Understanding the Importance of Room Acoustics
Before we delve into specific products, let’s understand why room acoustics is key to achieving high-quality sound in your home studio. Simply put, the way sound waves behave in a space significantly affects the end result.
A voir aussi : Innovative cafe signage concepts to revamp your ambiance now
Every room has unique acoustic characteristics. These characteristics are largely determined by the room’s size, shape, and the materials used in its construction. When sound waves emanate from a source, such as a speaker, they travel through the room and interact with the walls, ceiling, and floor. These interactions can cause a myriad of issues, such as echoes, standing waves, and flutter echoes, which can distort the sound.
That’s where acoustic panels come in. These panels, which are usually made from materials like foam or mineral wool, are designed to absorb sound waves and reduce their impact on the room’s acoustics. By strategically placing these panels around your home studio, you can dramatically improve the quality of your sound.
A lire également : What are the top design tips for crafting a UK home theater that optimizes sound and comfort?
2. Types of Acoustic Panels
When it comes to acoustic panels, there are essentially three types to consider for your home studio: absorption panels, diffusion panels, and bass traps.
Absorption panels are designed to absorb sound waves, reducing reflections and making the sound clearer. These are commonly made from materials like foam or mineral wool.
Diffusion panels, on the other hand, scatter the sound waves evenly across the room, creating a more balanced and natural sound. They are generally made from hard materials, such as wood or plastic.
Bass traps are a type of absorption panel designed to deal with low-frequency sound waves. These are typically placed in corners where bass frequencies tend to build up.
Each of these types of panels serves a specific purpose, and a well-equipped home studio will likely need a combination of all three.
3. Top Acoustic Panels for Home Studios
Now that we have an understanding of the types of acoustic panels, let’s have a look at some of the top options available in the UK for your home recording studio.
The Auralex Studiofoam Wedgies are a popular choice for absorption panels. These foam panels are effective at dealing with mid to high-frequency sound waves and are easy to install. They come in a variety of colours to suit your studio’s aesthetics.
If you’re after diffusion panels, the Vicoustic Multifuser DC 2 is highly recommended. These panels are made from high-quality plastic and can significantly improve the clarity and depth of sound in your studio.
For tackling those pesky low frequencies, Primacoustic London Bass Traps are a great option. These panels are designed to fit in corners and effectively absorb bass frequencies, creating a more balanced sound.
4. Tips for Installing Acoustic Panels
Choosing the right panels is just the first step. To get the most out of them, you need to install them correctly. Here are some tips to help you get started.
Firstly, identify the reflection points in your room. These are the places where sound waves bounce back towards the listening position. You can find these by using the mirror trick: sit in your listening position and have a friend move a mirror along the walls. Wherever you can see the speakers in the mirror is a reflection point.
Next, don’t forget about the corners. Corners are where low-frequency waves tend to build up, so it’s crucial to place some bass traps there.
Lastly, remember that more isn’t always better. Over-treating a room can make it sound dead and unnatural. It’s about finding the right balance to achieve a natural sounding, controlled acoustic environment.
5. The Impact of Room Size and Shape
It’s important to note that the size and shape of your room can greatly impact the type and amount of acoustic treatment you need. Larger rooms tend to produce more pronounced echoes and may require more absorption panels. Rooms with irregular shapes, on the other hand, may benefit from diffusion panels to help distribute sound waves more evenly.
Remember, acoustic treatment is not a one-size-fits-all solution. Every room is unique, and therefore requires a tailored approach. It may take some trial and error, but with the right acoustic panels and placement, you can transform your home recording studio into an acoustically pleasing space.
6. Testing and Adjusting Acoustic Treatment
After installing your acoustic panels, it’s crucial not to skip the step of testing and adjusting. This often gets overlooked, but it’s just as important as choosing and installing the right acoustic treatment.
First, conduct a room test. This involves playing a track you’re familiar with through your studio speakers and carefully listening to how it sounds. Look out for any muffled frequencies, excessive reverb, or unwanted echoes. Don’t forget to assess the low, mid, and high frequencies separately, as they are all affected differently by room acoustics.
Room analysis software can also be used to give a more precise measurement of the room’s acoustics. These programs can generate frequency response graphs, which show how different frequencies behave in your room.
Based on your findings, you may need to adjust the position of your acoustic panels or even add more. When adjusting, don’t rush. Small changes can make a significant difference in acoustics.
Keep in mind that your goal is to create a balanced sound environment. Achieving perfect sound is virtually impossible, but with careful adjustment, you can come pretty close.
7. Maintaining Your Acoustic Treatment
Once installed, your acoustic treatment requires some routine maintenance to ensure it remains effective over time. Dust and other airborne particles can settle on your panels, affecting their sound absorption qualities.
To maintain their effectiveness, lightly vacuum foam panels every few months using a brush attachment. For other types of panels, like those made from fabric or mineral wool, a simple air duster should do the trick.
It’s also worth checking the panels’ installation from time to time. They may become loose or fall, impacting their performance.
Remember, maintaining your acoustic treatment is just as important as the initial setup. It ensures your recording studio continues to produce the high-quality sound you strive for.
In Conclusion
Acoustic treatment is an essential consideration for any home recording studio. The proper selection and placement of acoustic panels can drastically enhance your studio’s sound quality, providing a clean and balanced audio environment.
While the process of choosing, installing, and maintaining acoustic panels may seem daunting, the effort is well worth it. From absorption panels like the Auralex Studiofoam Wedgies to bass traps like the Primacoustic London Bass Traps, the UK market offers a myriad of high-quality options to meet your acoustic needs.
So, take the time to understand your room’s acoustics, select the right panels, and don’t forget to test, adjust, and maintain your setup. With patience and precision, you can create an acoustically pleasing home studio that provides excellent sound quality for your recordings. And remember, great sound is not only about having the best equipment but also about creating the best environment for that equipment to shine.


